Monday, April 29, 2013

Mother's Day Card Bonanza


Mom, Mother, Mum, Mommy, Ma, Mama,  No matter which word you use be aware Mother's Day is quickly approaching so I have been busy as...well a Mom. As moms we spend all year taking care of and loving those around us so Mother's Day is a day to say thanks for all that they do. Being a Mom of four wonderful boys I know how important it is that we get a special day to be pampered and loved.  It's a day to make sure your mom knows how much she is appreciated. It's a day to be surrounded by those that we love and not feel guilty about asking for some quality time. So start planning now. Make your reservations at her favorite restaurant (FYI Mother's Day is the busiest day of the year at restaurants) gather some beautiful flowers and most important get the perfect card and write to her just how much she means to you. .


I made a easel and a stand in pink of course to display the cards for you. Aren't they nifty.


I have some more detailed cards in the works, but I wanted to post a few quick ones that I did the last couple days. I wouldn't want to overload you with to many cards in just one post.


Light pink card with some adorable flowers 


A pretty light pink one with sweet swirly flowers and some added detail of Liquid Pearls. Love that stuff! 


And a bright pink one in the same design. 


A bright and cheery one. 


A light green card with a 3D flower attached.


Last one for the day a pretty green one with a sweet little bow.

I like these cards but the next ones are more intricate and interactive. So I am still embellishing them. Can't wait to show you some of the fun new designs I made.

I'll be putting these into my store in the next few days. If you need to get one shipped before Mother's Day message me for any orders or new cards that you want.


I Link up Here: Not just a HousewifeClean and Scentsible Skip to my LouI Heart Nap TimeBlooming Homestead,  Alderberry HillTatortots & JelloA Night OwlCraft-O-Maniac,  Thats whate Che SaidCrafts Ala ModeSay Not Sweet AnneChic on a Shoestring DecoratingSumo's Sweet Stuff, Mad in Crafts


Wednesday, April 24, 2013

Better Late then Never?

I was off work for the last few days and got some major cards designed. Mothers Day is coming up soon so I wanted to get started. My designs are done, I just need to put them together. I also decided to finally paint my living room. Boy did it need it. I'll take some pictures as soon as I get everything put back to where it belongs.   Be sure to subscribe by email, Blog Lovin' or Facebook to see the updates. In the meantime I used my resting between coats to make some home decor.

Better late then never, or so they say. I am not to sure of that. If you know me at all you know that I am ALWAYS late. I do not do it on purpose, and it really stresses me, (and my bosses at work) out. No matter what kind of planning I do it seems something always comes up that makes me 3-5 minutes late for everything. Not just work, but EVERYTHING. Believe me I have tried to make myself better. Setting the clocks ahead,  getting ready ahead of time, alarms, calendars, nothing has worked. This may not help with the clock situation, but at least I will know what day it is.
I am just a little late in the game, (surprise) but I made an adorable super easy calendar this week. I cut with my cameo of course. Maybe someday I will get over the fascination with this machine and show you some non Silhouette stuff. Don't count on it anytime soon, I haven't even scratched the surface !


Pay no attention to the date there, I sure didn't before I took the pictures. 


To change the date I just need to turn the little blocks for the month and date.


I used the 3d box calendar by Lori Whitlock for the cut files and added my own colors to match my family room.
For my sanity as well as all the people I affect lets hope my tardiness improves. Sad when I think I deserve a brownie button for getting somewhere when I am supposed to.


I Link up Here: Not just a HousewifeClean and Scentsible Skip to my LouI Heart Nap TimeBlooming Homestead,  Alderberry HillTatortots & JelloA Night OwlCraft-O-Maniac,  Thats whate Che SaidCrafts Ala ModeSayNotSweetAnneChic on a Shoestring Decorating

Wednesday, April 17, 2013

Writing with the Silhouette Cameo. aka I Write Like a Serial Killer

For most people, their penmanship improves over time, but not me. Of course I have to be just the opposite. I write like a serial killer. These days, I hardly ever hand-write anything. The reason for that is because my handwriting is beyond terrible. You know it's bad when even I can't read my writing. Whats worse is that my cursive is actually better then my printing. I feel sorry for anyone who has to read anything I write. Remember when you were leaning writing skills in elementary school? We had those nifty papers with the split lines to keep us on track. Like this:

Why can't we use those as adults? It is my theory that if I could then people would actually be able to read my writing. Not too adult looking, right? Yet another reason I am grateful for computers. I find myself wanting to type out everything, even if it's just for my personal eyes.

Why am I typing this onto my craft blog? Because I love making cards for people, but hate that my handwriting messes up the pretty designs. In comes my Silhouette Cameo. I was using all the cut features for small phrases. However, what about when I wanted a nice saying inside the card? Even though the Cameo can cut small designs, it is not always possible to cut out longer things. Surprise! I am not the only one who thought this.
I found a great site that offered up an add on to the Silhouette Cameo and other die cutting machines. Amy Chomas at Chomas Creations has an adjustable pen and marker holder that can accept various sized pens and markers, then you put it in your machine instead of the cutting blade.

                                               Adjustable pen holder for the Silhouette/Cameo

Awesome, right? Finally, writing that can be read. A tool that is on my crafting wish list (and believe me it's a long one).
The pen holder is beyond my means to invest in right now. So I researched other solutions.
My cheap frugal self found these.


Small pen grips that you put on pens or pencils. I got a pack of 10 and put them on some gel pens. That was the hardest part of this project. It was tough, I tell ya. I needed a cup of coffee to relax afterwards. So after you calm down, you just push them into the blade housing.


To get them to write correctly I put in a spacer popsicle stick so that the pen did not drag along the paper. Amy Chomas suggested that we use setting of a speed of 10 and a thickness of 10 when using her adjustable pen holder, so I set my machine for the same.  I found that some fonts work better then others. After like a million tests, I made a list and printed them out with my Cameo.


Oh so exciting. I'll be like a kid in a toy store playing with this.  I have included a link to the .studio file I made just in case it helps anyone who has a Silhouette. Click here for file.


I Link up Here: Not just a HousewifeClean and Scentsible Skip to my LouI Heart Nap TimeBlooming Homestead,  Alderberry HillTatortots & JelloA Night OwlCrafts Ala Mode

Thursday, April 11, 2013

A Split Family Tree on Canvas

Let the vinyl projects begin! I have been waiting for a shipment of vinyl that I ordered. Finally it has been received  sorted and is ready to be used. I must admit my first project was a little ambitious, maybe even a little scary. After a few mishaps it turned out great. Without making you hold onto your seats for a minute longer, I bring you a split family tree.


This is for a friend who wanted her kids names displayed on 5 X 7 canvases. Yes she has 6 kids, that's 2 more then me. I don't know how she is still sane.  I love the font that I choose. Very swirly. 
For those that are interested I finally remembered to take some photos along the journey to show you what I did. For those that aren't interested, indulge me and look anyway just for my amusement.


Here is the back of the canvases. Just simple white canvases that can be bought at any craft store. My favorite go to place is Michaels. 


 I painted the canvases with a few coats of acrylic paint in her favorite color, green. To get the vinyl to stick to the uneven surface, I also applied a thin coat of Modge Podge. The Modge Podge had to sit for a few days to cure. The waiting killed me. I mean I had all this vinyl and wanted to start cutting. 

This next step requires a little bit of additional information. I messed around with a few different vines and leaves on Silhouette Designer Edition. we wanted the vine to wrap around all the canvases.  I finally ended up with a tree design. Lovin the heats with the tree. Coming up with designs is the hardest part of crafting I think.Getting it to separate on all the canvases turned out to be another problem. No matter what I tried in the software the design always came up wonky. I asked for some help on one of the craft groups I belong to, and a lady came up with the perfect solution.  Here it is.


I used painters tape on the back of the canvases to hook them together. Genius.  


Oh how exciting, the cutting of the vinyl has began. This is the inside of the Silhouette Cameo. In short terms, it's like a printer that cuts instead of prints. 


It is next to impossible to see here, but the tree design is being cut by the blade. 


The vinyl I use come in rolls or sheets The sticky part of it is stuck to a carrier sheet. The small intricate design came out perfectly. The weeding (removal of the extra vinyl) on this one was really easy. After the project was weeded You add a transfer sheet to the front. And scrape over it to make sure it sticks. They make a transfer tape for this use, but contact paper works wonderful also. And is much, much cheaper.


With the vinyl stuck to the transfer sheet you peel off the backing and the design really shines. 


I then took the design and moved it over to the connected canvases. I used a squeegee to firmly attach it to the canvas. Even with the Modge Podge I found that the vinyl did not want to stick down and little pieces kept coming up. So frustrating. I din't let it stop me and continued anyway. 


After the vinyl finally stuck I used a X acto knife to cut the design between the canvases. I kinda feel silly that I didn't come up with this, It would have saved hours in front of my computer.


Isn't that font fabulous! Absolutely amazed by the small details that the Silhouette can cut.  With all their names applied I saw there were still little pieces of the vinyl that didn't want to stay down. Modge Podge to the rescue again. I added another coat on top of the entire design, and let cure for a few more days.

They are all ready to be given to my friend. she saw them already, so I am not spoiling the surprise. She is such a wonderful mom, and now can display he kids special names that were picked just for them. 


Linked up Here: Not just a HousewifeClean and Scentsible Skip to my LouI Heart Nap TimeBlooming Homestead,  Alderberry Hill, Tatortots & Jello, A Night Owl, Craft-O-Maniac,  Thats whate Che Said, Crafts Ala ModeSayNotSweetAnneChic on a Shoestring Decorating

Wednesday, April 10, 2013

Men are Tough

Have you ever noticed how difficult men can be? Not they themselves, but rather making stuff and buying stuff for them. I have four boys of my own, and I have ALWAYS had a hard time buying for them. Take Christmas stockings. Do you know how few items there are for men that can fit in a stocking? Easter baskets, ya ain't happening there either. Girls on the other hand are easy. Makeup, earrings or any jewelry for that matter. We have all sorts of little things that can fit into the smallest spaces. Anything for the male species that is small enough to fit is expensive stuff.


And if I thought buying stuff for men was hard, making stuff for them has turned out to be even harder. Once again, us females are easy. Slap a flower on it, add a few swirls and pretty colors and we are happy. Boys, what do we have to deal with? Tools, video games, and plaid or blue paper?  Whats fun about those?
I have asked my boys a thousand times, "What can I make for you?" I always get the same response, nothing! Nothing! Come on I want to craft and will come up with just about any excuse to do it. My friends have got to be sick of me talking about crafting, getting homemade stuff, and me asking them "what can I make for you?" Thankfully, us girls always something we need or want.
So whats a girly girl to make for a guys birthday? Well, I made a card recently for a young man I work with. Being from separate generations, and knowing him for only a short time it was a hard decision  In the end I came up with music as my theme.


A little closer
The cuteness of this card is the inside.  I made a pop up out of a piano. I know right. 
The side views are much easier to see. 


 I trimmed it with a little music paper to add some details.

For such a hard subject of men it turned out nice I think. Please leave me a comment below of what you think? 


Next posting already in progress. A vinyl canvas project. Awesomeness!


Linked up Here: Not just a HousewifeClean and ScentsibleHome Stories a to ZSkip to my LouI Heart Nap TimeBlooming Homestead,  Alderberry Hill, 52 Mantels

Tuesday, April 9, 2013

Aloha card and a purple dresser.

Aloha Friends, I hope your Spring is starting off bright and colorful. I love the colors of spring, so much better then the natural colors of fall, and I am so over the green and red everywhere for the Christmas season. Spring colors are more my type with the pinks and purples. And I loves me some Pink!!! However, this post is brought to you by the color Purple. It is one of the favorite colors of a friend who deserved a special gift and card.

She is Hawaiian, so I thought it only fitting that I should try to do her card in Hawaiian language. According to her I didn't butcher it to bad. But it could have been better.  There is a reason they say it is easier to learn a new language when you are young.
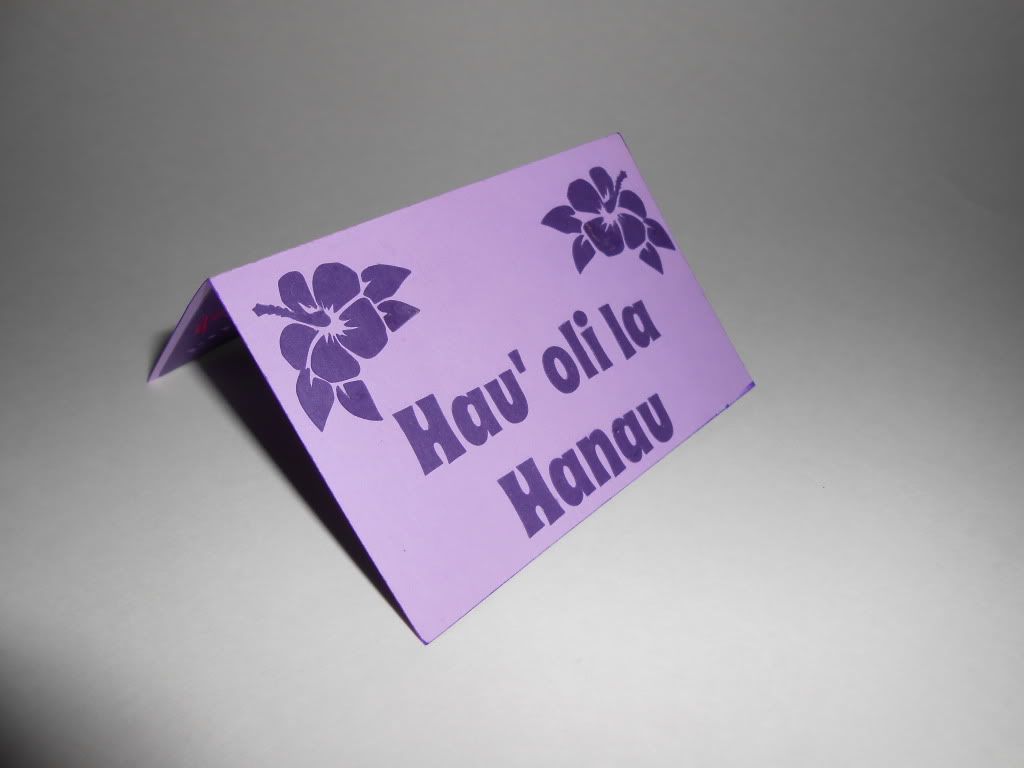
Here is her card front with a couple hibiscus flowers.

Hau' oli la Hanau means Happy Birthday. Google is a fabulous thing, but honestly I have no clue how to break it down further. For any more Hawaiian cards she said the la should have been with the Hanau, so I assume it is Hau' oli for Happy and la Hanau for Birthday.

Here is the inside.


 May e pomaika'i o Akua means May  many Blessings and fond memories fill your day.  Beyond knowing what it means, I am no help on any of the breakdown there. And I just had to have some Spring elements in there with more flowers and butterflies. The Pop up Spring card from the online store was perfect. So I left it how it was and just cut out the saying along with it.
For the envelope I needed a quick cute design so I used some balloons.


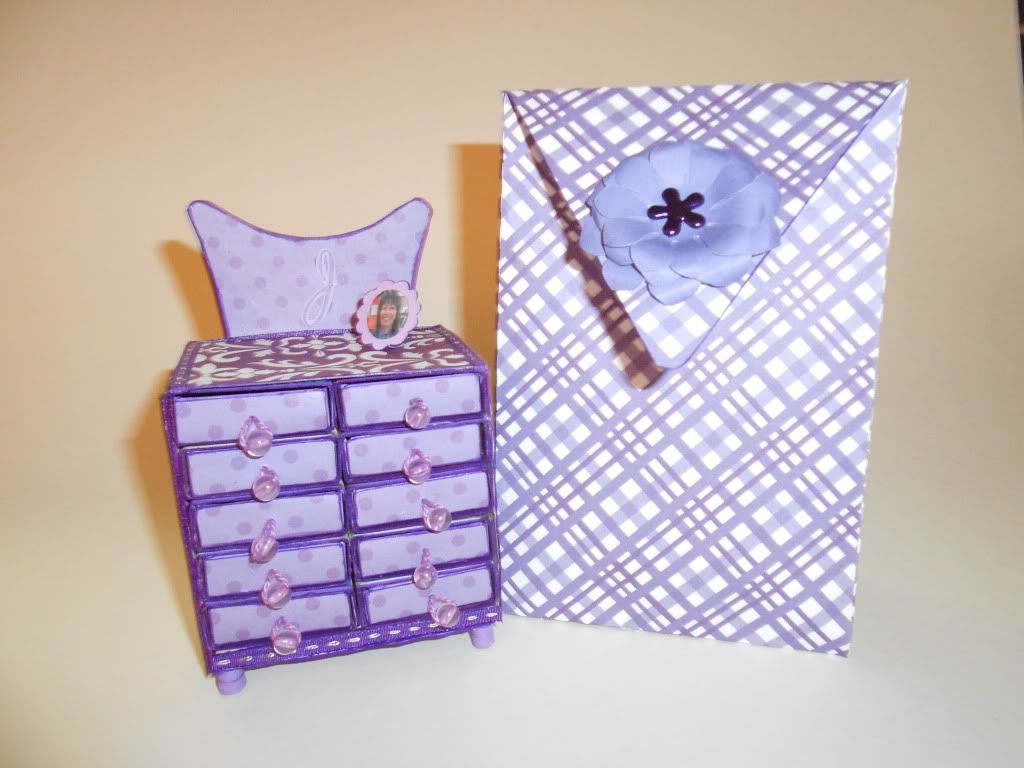
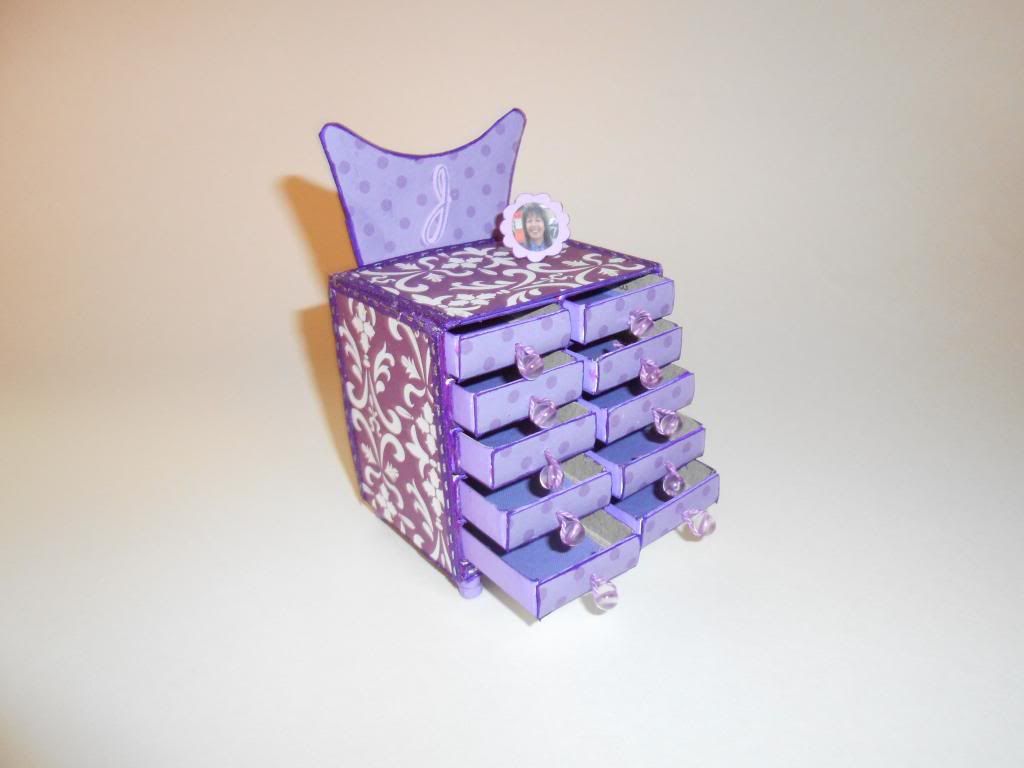
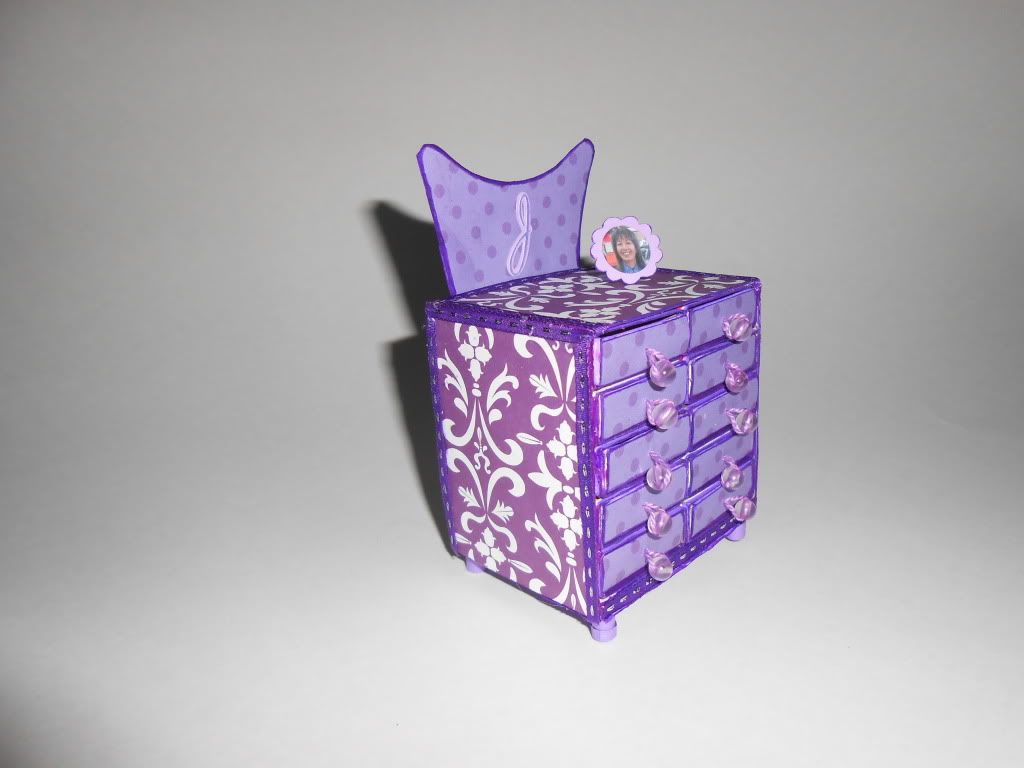
When I saw the Chest Out Of Matchboxes design on Artfully Amusing I knew I just had to make one for my friend. I am always looking for new things to make.  Here is my version with her cute little bag.


Originally I wanted to make the matchboxes out of my designer paper and Silhouette Cameo, but as usual I waited to long and had to buy the matchboxes. With the extra inking of the edges and adding paper to the fronts, I think it would have been easier to make them from scratch after all. Live and Learn.


For the drawer pulls I had also had a live and learn moment. I had some beautiful beads strung for the drawer pulls, but had to clip them off because they were to long and interfered with the drawers closing. I think they turned out ok even with the single bead. 

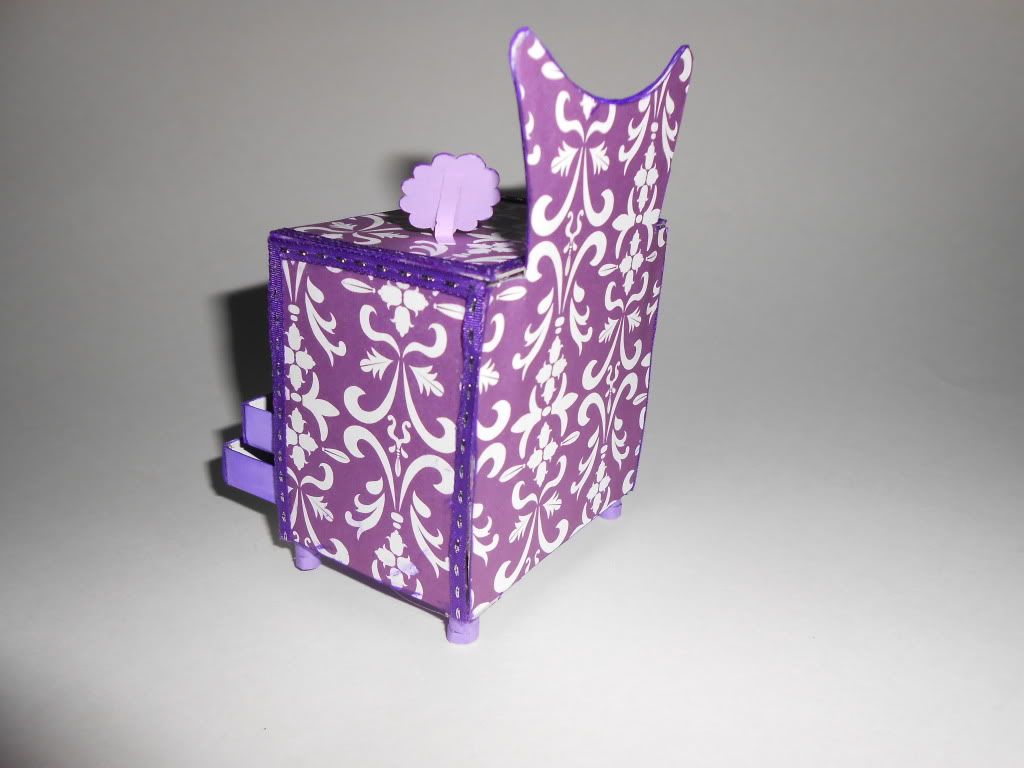
 I trimmed all the sides with a really tiny purple ribbon just to cover up some of my imperfections. Note to self, get a glue pen. It's really really hard to get the glue onto these little spots without it gooping all over. 


It needed some detail on top. I mean really who has a dresser with nothing on it. So I attached a micro photo of her in a frame and added her initial to the back. I hope she can use this on her actual dresser. I thought it would be adorable to put her earrings in. 
Now everyone go outside and enjoy some spring time fun.


Tracie


Linked up Here: Not just a HousewifeClean and ScentsibleSugar Bee CraftsHome Stories a to ZSkip to my LouI Heart Nap Time, Blooming Homestead,  Alderberry Hill, 52 Mantels, Craft o Maniac , The 36th Avenue

Tuesday, April 2, 2013

Spinning Fun

Oh my! Leave it to me to start this blog, then be to busy and tired to post anything for a few weeks. Sad when I can't get time or energy to do what I love. On top of work, it was also Spring Break for a few of my wonderful boys. Their colleges had Spring break a week apart, so they didn't get time together, but I got in some good one on one time with them. In a house with four kids, alone time with mom does not happen often.
I am all rested up and the crafting has begun again.  Lots of Birthdays are happening for my friends. So I hit my Silhouette Cameo to make some gifts and cards.
For my first card, I wanted to try something new. I saw a wonderful post on the Clever Someday blog for a spinner card and she was kind enough to share her Studio file.  After some editing, I combined it with an adorable monkey from Katie W. Designs (the file was from KaDoodle Bug Designs, but they no longer carry Katie W. Designs, so sorry no link).


Oh nooooo ! He flips and turn upside down   


All the way to the other side. 


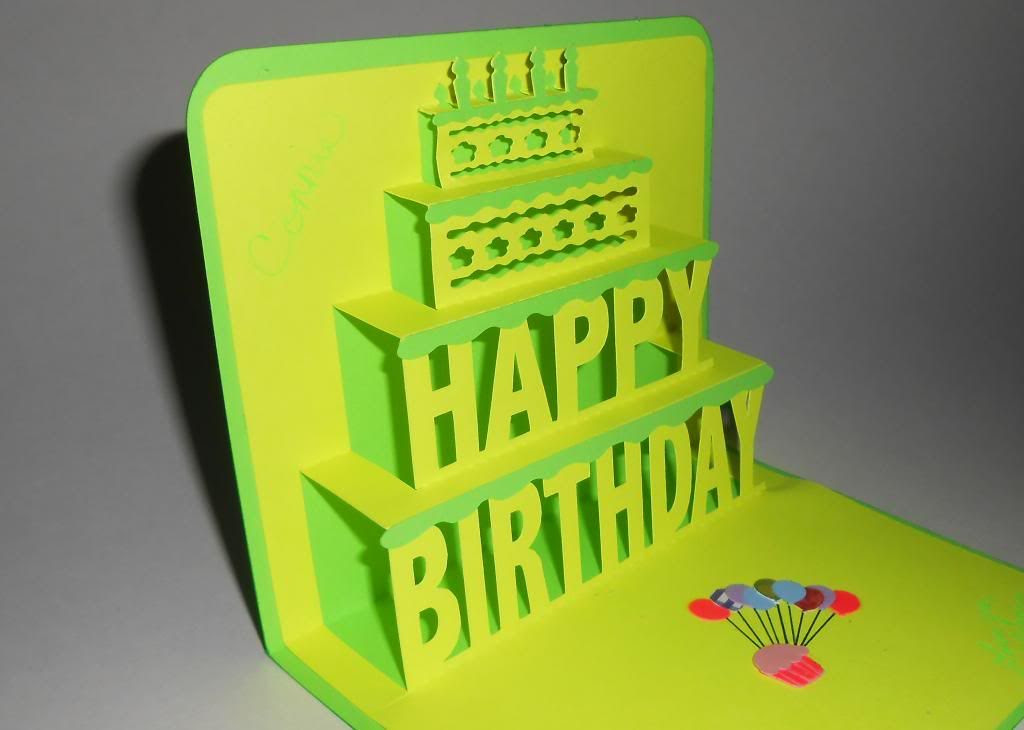
Isn't that just the cutest thing. At least until you get to the inside. Birthdays and cake go together like... well like Birthdays and cake. I attached a adorable giant pop up for the inside.


And then attached the cute Katie W. Designs cupcake and balloons so they wouldn't go to waste.


I am so enjoying having my Silhouette Cameo. It can do just about everything  Now if I could only get it to cook me dinner.
My photo skills are getting better. I see a light box being built in the near future. I'll be sure to post it here as well.


Tracie


Linked up Here:

Not just a Housewife, Tatertots and Jello I Heart Nap Time- Sundae Scoop Linky PartyAlderberry Hill- Make the Scene Monday Skip to My Lou- Made By You MondayHome Stories A to Z- Tutorials & Tips Link Party Thrifty Decor Chick, 52 Mantels, Uncommon Designs